

I think the reason I love the show so much is that I relate to it. It reminds me of my life between the ages of 15-18. My parents had moved us to a small remote town in northern Minnesota. Where it was cold and not much to do.
We did what Eric, Donna, Hyde, Kelso, Fez, and Jackie did we literally hung out down the street! We had to make our own fun running around town or hanging out at each others houses hosting movie nights.

I can’t go back to being in high school and I’m not so sure I’d really want too, but I don’t mind having flashbacks through a well written TV show! Kitty was always baking from scratch and one of the things we saw her bake over and over was brownies!
In the last season she baked them for Jackie to win over her boss (Mary Tyler Moore) and was very upset when Jackie took the credit. It was after watching that episode I had a craving for brownies and made them the next day!
I’d like to think these brownies would have passed Kitty’s approval! It’s the only brownie recipe I use these days and this time time I added chocolate chips to it! If I were Hyde I would have added a different “special” ingredient!
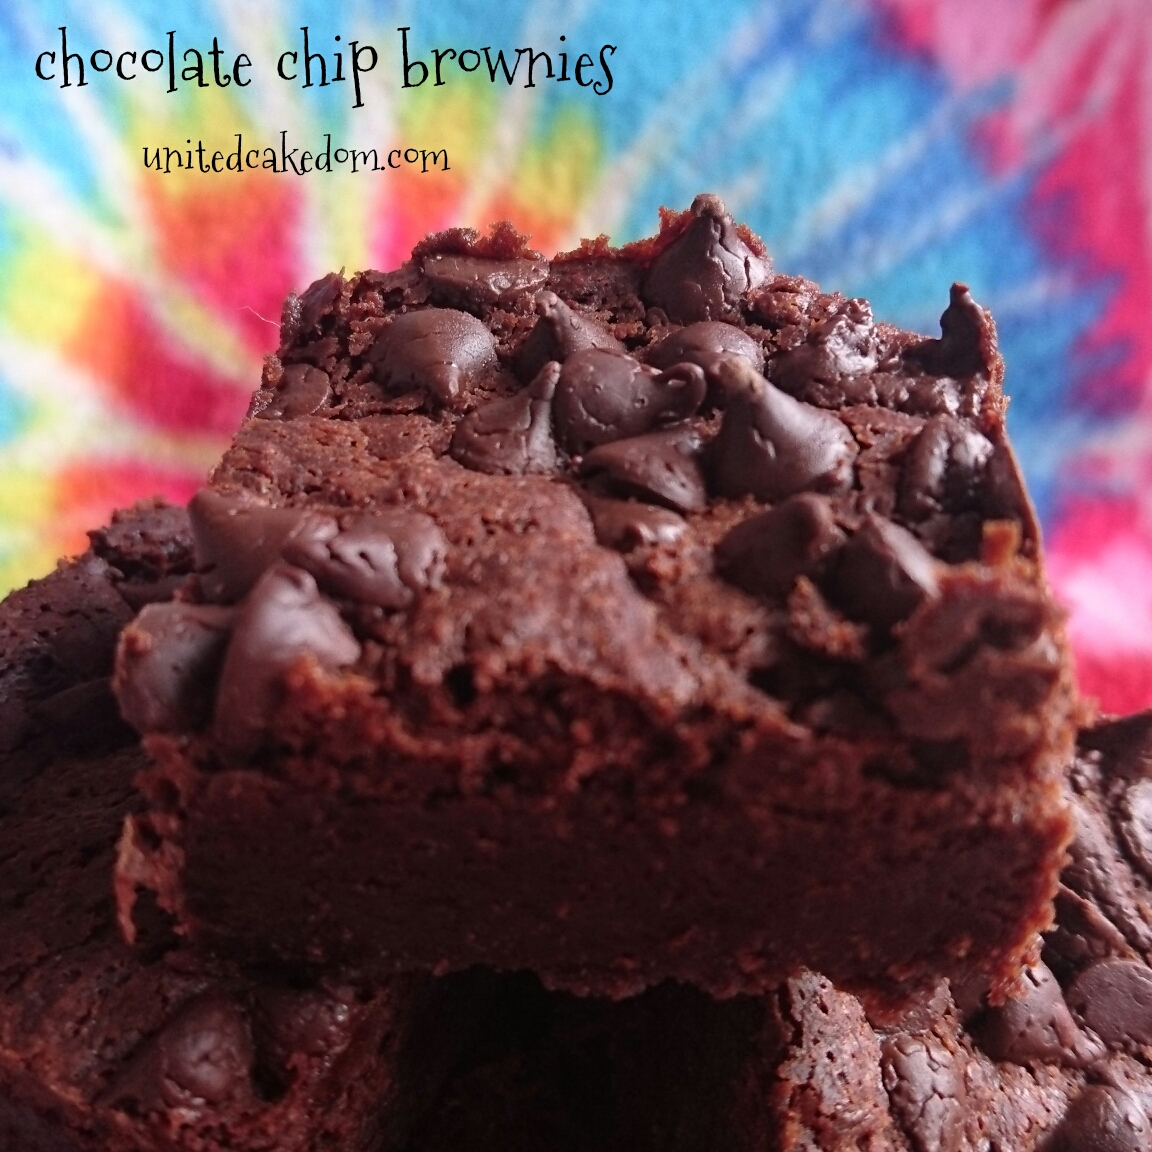
Chocolate Chip Brownies
300g dark chocolate, broken up250g unsalted butter
400g light muscovado sugar
4 large eggs
140g plain flour
pinch of salt
50g cocoa powder
100g chocolate chips
Preheat oven to 180C/gas4 and line a brownie tin (8x11) or an 8in square pan with parchment paper.
Very gently melt the chocolates with the butter and sugar in a medium saucepan. Just before the chocolate is completely melted, take off the heat and gently stir until it’s completely melted.
Then add the eggs one at a time to the melted chocolate mixture. Sift the flour, salt, and cocoa powder into the pan and stir until just combined.
Then pour the mixture into the prepared tin/pan. Scatter all the chocolate chips over the top of the brownies before baking in the preheated oven for 35 minutes. If you want them a little gooier only bake them for 30 minutes.
Cool completely before cutting into squares. They are good for 3 days in an airtight container not that they will last that long!


.JPG)


